Dental Office Video Tour: How to Create One That Wins New Patients
Posted on 7/7/2026 by WEO Media |
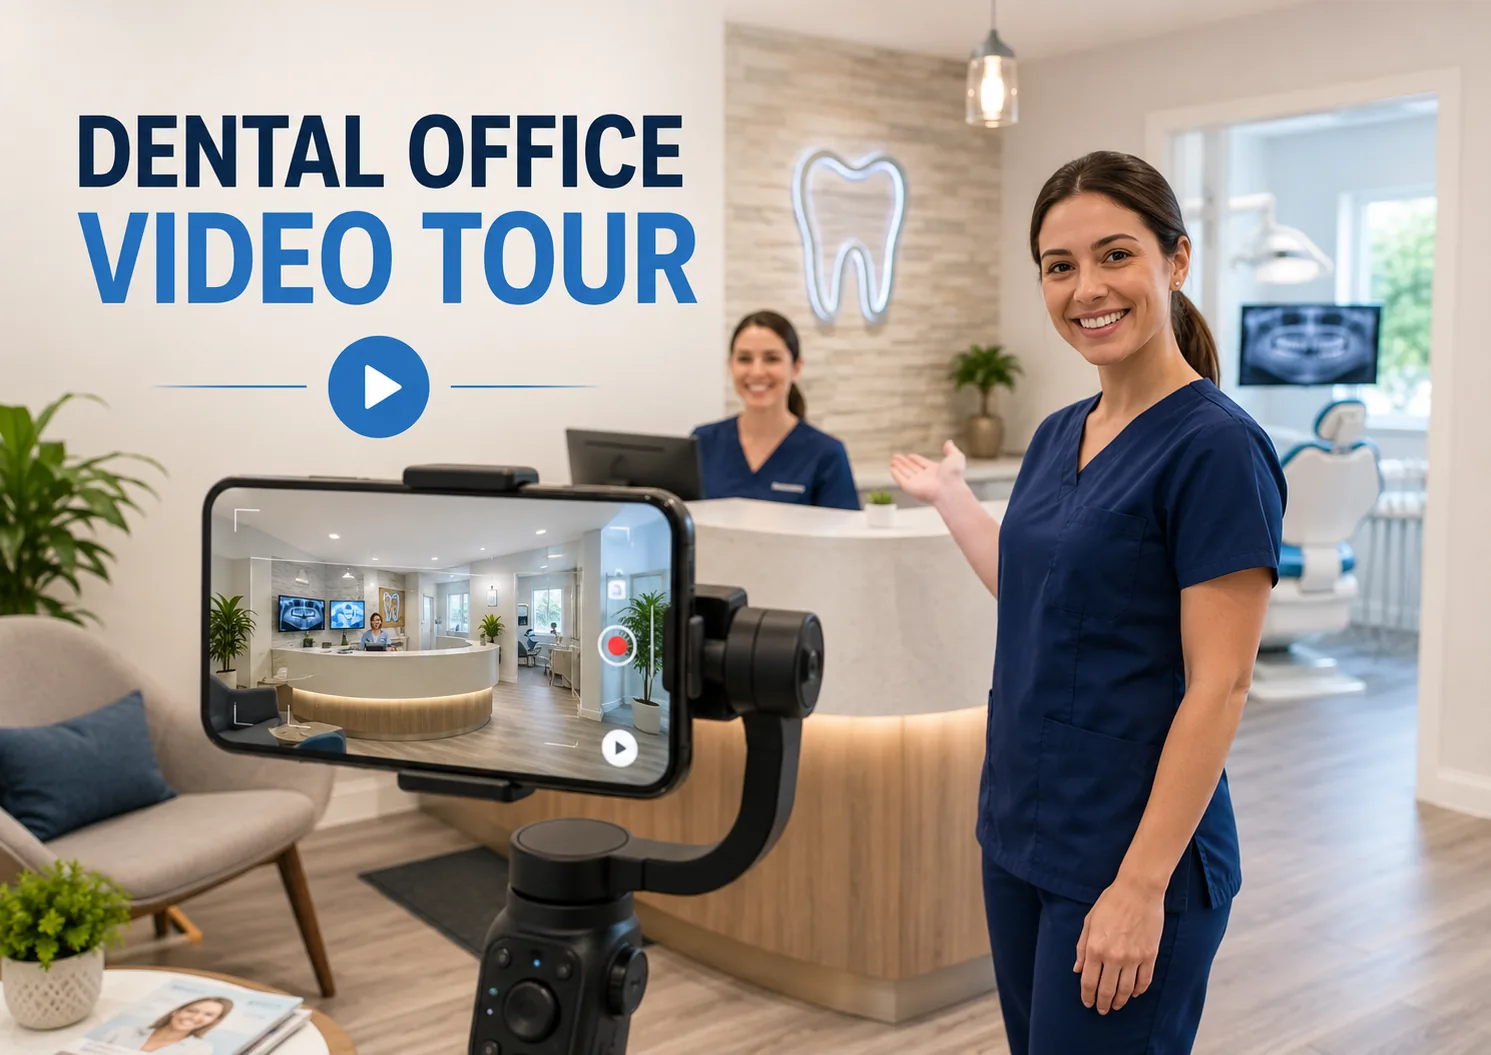 To create a dental office video tour that wins new patients, plan a short walkthrough of your reception area, operatories, technology, and team, film it in good light with a stabilized phone or camera, keep the final cut under two minutes with on-screen captions, and publish it on your website, Google Business Profile, and YouTube. To create a dental office video tour that wins new patients, plan a short walkthrough of your reception area, operatories, technology, and team, film it in good light with a stabilized phone or camera, keep the final cut under two minutes with on-screen captions, and publish it on your website, Google Business Profile, and YouTube.
Done well, a practice walkthrough does more than show your space—it lowers new-patient anxiety, builds trust before the first visit, and gives your website and local listings the kind of authentic media that both prospective patients and search engines reward.
Most dental websites still rely on stock photography that could belong to any practice in the country. A real video tour is different: it shows your actual front desk, your actual operatories, and the actual people who will care for the patient. That specificity is exactly what a nervous first-time patient is looking for—and exactly what generic competitors cannot copy.
Short on time? The steps below scale from a fifteen-minute smartphone walkthrough to a fully produced shoot. Start simple, publish, and improve from there.
Written for: dental practice owners, office managers, and marketing teams who want a practical, compliant way to plan, film, edit, and publish a video tour that turns viewers into booked patients.
TL;DR
If you only do five things, do these:
| 1. |
Plan the patient journey - map the walkthrough from parking and reception to the operatory and checkout so the tour feels like a real visit
|
| 2. |
Protect patient privacy first - film with no patients present, keep all protected health information out of frame, and get written authorization before anyone identifiable appears
|
| 3. |
Keep it short and human - aim for under two minutes, lead with your strongest shot, and let real team members carry the story
|
| 4. |
Caption everything - add accurate on-screen captions for accessibility and for the many viewers who watch with the sound off
|
| 5. |
Publish everywhere it counts - your website, Google Business Profile, and YouTube, with short vertical cuts for social |
Table of Contents
Why a dental office video tour is worth making
Dental anxiety is common, and most of it comes from the unknown—an unfamiliar building, unfamiliar faces, and uncertainty about what the visit will feel like. A video tour answers those questions before the patient ever picks up the phone. When someone can see your calm reception area, meet your team, and watch how modern and clean your operatories are, the visit stops feeling like a gamble and starts feeling familiar.
That “know before you go” effect is why a tour is one of the most persuasive assets a practice can own. In our work with dental practices, the walkthrough video is often what a hesitant patient watches last—right before they book.
What a well-made tour does for your practice:
| • |
Lowers anxiety - familiarity with the space and people reduces fear of the first visit
|
| • |
Builds trust and connection - seeing real faces humanizes your practice in a way photos cannot
|
| • |
Differentiates you - authentic footage sets you apart from competitors using generic stock imagery
|
| • |
Strengthens your website - engaging video keeps visitors on the page longer and supports conversion
|
| • |
Feeds local discovery - fresh video on your listings and YouTube gives patients another way to find and choose you |
The goal is not a glossy commercial. It is an honest, welcoming look at the experience you already provide.
> Back to Table of Contents
What to include: your video tour shot list
A great tour follows the same path a patient does. Walk the journey from the outside in, and capture the moments that answer “what will this be like for me?”
Shots worth capturing:
| • |
Exterior and parking - the building, signage, and where to park, so first-time patients arrive relaxed instead of lost
|
| • |
Entrance and reception - the front door opening and a warm, comfortable waiting area
|
| • |
The front desk team - the first friendly faces a patient meets, offering a genuine welcome
|
| • |
Operatories - clean, modern treatment rooms, including comfort touches like blankets, headphones, or ceiling screens
|
| • |
Technology - intraoral scanners, digital imaging, and chairside monitors that signal modern, comfortable care
|
| • |
Sterilization and infection control - a brief look at how instruments are cleaned and sterilized, which is a powerful trust builder
|
| • |
Comfort amenities - a beverage station, a kids’ corner, or a quiet consultation room
|
| • |
A brief team moment - a few seconds of the people behind the practice, smiling and at ease |
One caution as you build this list: everything the camera sees is on the record. Keep computer screens, schedules, and any patient information out of frame—more on that next.
> Back to Table of Contents
Plan and script before you film
A little planning is the difference between a smooth twenty-minute shoot and an afternoon of reshoots. Decide what the tour should accomplish, then build a simple plan around it.
| 1. |
Set one goal and audience - most tours speak to prospective new patients, especially nervous ones, so let that shape your tone
|
| 2. |
Choose your length - target under two minutes for the main tour, and plan a 30-second cut for Google Business Profile and social
|
| 3. |
Write a shot list and route - map the walkthrough in order: arrive, check in, treatment room, and a warm goodbye
|
| 4. |
Decide who narrates - a dentist or team member on camera builds the most trust, though a voiceover or on-screen text also works
|
| 5. |
Outline your talking points - jot down key messages rather than memorizing a script, so delivery stays natural and warm |
Schedule filming when the office is closed or empty so no patients appear on camera and no private information is visible. This single choice removes most of the privacy risk covered in the next section on compliance.
> Back to Table of Contents
Compliance: HIPAA, consent, music, and accessibility
This is the step most do-it-yourself tours get wrong, and it matters more in a dental office than almost anywhere else. A treatment environment is full of protected health information, and putting a camera in it carries real obligations. The following is general information, not legal advice—have your forms and process reviewed by qualified healthcare counsel or your compliance officer.
Start with the safest approach. Film when no patients are present, and make sure no patient and no protected health information appears anywhere in the frame. If you do that, you sidestep most of the risk entirely.
Understand the HIPAA rule for cameras. Federal guidance on film and media access is strict: a practice may not give a camera access to any area where a patient or a patient’s protected health information would be captured—in written, electronic, spoken, or visual form—without first obtaining a written HIPAA authorization from each affected patient. Blurring faces or masking identities after the fact is not enough on its own. If patients will be present or could be captured incidentally, get that written authorization before you record.
Find the information hiding in plain sight. Protected health information is easy to film by accident. Before you record, clear the set of anything that identifies a patient:
| • |
Screens and monitors - turn them off or angle them away, and consider privacy filters
|
| • |
Schedules and boards - remove or cover any appointment board, sign-in sheet, or whiteboard with names
|
| • |
Charts and paperwork - clear the front desk and counters of files, sticky notes, and lab cases with patient names
|
| • |
Imaging and labels - keep labeled X-rays, scans, and prescription pads out of frame |
Get the right consent, not just intake paperwork. The general consent a patient signs at check-in does not cover marketing. To use any identifiable patient image or testimonial, you need a standalone written HIPAA marketing authorization that meets federal core-element requirements, ideally signed at the time of treatment, then documented and retained. For staff who appear on camera, use a signed appearance or media release—that is not a HIPAA issue, but it protects everyone involved.
Keep testimonials honest, and music licensed. If your tour includes a patient testimonial, it must be authentic. Federal rules prohibit fake or sentiment-incentivized reviews and endorsements, and any identifiable patient testimonial still requires HIPAA authorization. For the soundtrack, use licensed or royalty-free music and your own footage, because popular songs used without a license invite copyright claims and takedowns.
Make it accessible. Add accurate captions to every video. Captions are a baseline requirement under the Web Content Accessibility Guidelines for prerecorded video, they serve the large share of viewers who watch with the sound off, and they give search engines text to read. Building to the widely referenced 2.1 Level AA standard, while keeping the current published 2.2 version in view, is a sensible target, and an on-page transcript is a helpful addition.
> Back to Table of Contents
Equipment, setup, and filming tips
You do not need a film crew. A modern smartphone shoots clean, high-resolution video that is more than good enough for a practice tour. What separates amateur footage from professional-looking footage is stability, light, and sound.
The short equipment list:
| • |
Camera - a recent smartphone or a basic mirrorless camera, set to the highest resolution available
|
| • |
Stabilizer - a gimbal for smooth walking shots and a tripod for steady static shots, because shaky footage is the fastest way to look unprofessional
|
| • |
Light - maximize natural light and add a softbox or LED panel to brighten operatories and even out harsh overhead shadows
|
| • |
Audio - if anyone speaks on camera, use a clip-on microphone or record a voiceover separately, since built-in mics pick up echo and equipment hum |
While you film: shoot horizontally for your website and YouTube, and grab a few vertical takes for social and Google Business Profile. Move the camera slowly and deliberately, and hold each shot a few seconds longer than feels necessary, because extra footage gives you room to edit. Capture plenty of b-roll, such as a hand guiding a scanner or an empty operatory resetting, so you are never short of material. If you run multiple locations, use one shared shot list and brand template so every practice in the group looks consistent.
> Back to Table of Contents
Editing: pacing, captions, and a clear next step
Editing is where a pile of clips becomes a tour. The instinct to include everything is the main thing to resist, because a tight, well-paced ninety seconds beats a rambling five minutes every time.
A simple editing checklist:
| • |
Lead with your best shot - open with the exterior and a warm greeting in the first few seconds so viewers keep watching
|
| • |
Trim ruthlessly - keep the final cut under about two minutes and remove anything that does not add warmth or information
|
| • |
Add captions and labels - burn in captions and use lower-thirds to introduce team members by name and role
|
| • |
Brand it lightly - add your logo and colors, and keep any music subtle and licensed
|
| • |
End with one clear next step - close with a simple prompt to book online or call, which is the one place a call to action belongs |
Export a master version in widescreen for your website and YouTube, plus a short vertical cut under 30 seconds for Google Business Profile and social feeds. Finally, treat the tour as a living asset: refilm when you renovate, rebrand, adopt new technology, or welcome new team members, so what patients see always matches what they will find.
> Back to Table of Contents
Where to publish and how to optimize for search
Filming the tour is only half the job. Where and how you publish it determines how many prospective patients actually see it, and how much it helps you show up in search.
Your website
Embed the tour on the pages of your dental website where patients make decisions: your homepage, your about or team page, and your new-patient page. Give the file a descriptive name and title, and place a short text transcript near the video so both search crawlers and AI answer engines can understand what it shows. Ask your web team about adding video structured data, which helps the tour appear as a video result in search.
Google Business Profile
Upload a short cut that meets Google’s current media requirements: up to 30 seconds, up to 75 MB, and 720p or higher. Uploaded media is reviewed and can take 24 to 48 hours to appear, and it only shows on a verified profile. Because the profile often crops video toward a square, keep your most important content centered in the frame.
YouTube
Host the full-length tour on YouTube for reach and easy embedding, then place that same video on your website. Write a clear, keyword-rich title and description, include your city and a link to your site, and add accurate captions—the same fundamentals our guide to YouTube marketing for dentists covers in depth. A YouTube-hosted video embedded on your own pages gives you both discovery on one of the web’s most-used platforms and engagement on your site.
Short-form social
Repurpose the tour into short-form video: cut a few 15- to 45-second vertical clips for Instagram Reels, YouTube Shorts, Facebook, and TikTok. Lead each one with a hook, such as a genuine smile or a simple “take a look inside our office,” so the clip earns a few seconds of attention in a fast-moving feed.
> Back to Table of Contents
How to measure your video tour’s performance
A tour is a marketing asset, so treat it like one and watch how it performs. You are looking for two things: whether people watch, and whether watching leads to action.
What to track, and where:
| • |
Watch time and retention - in YouTube Studio, see how far viewers get and where they drop off, then tighten your opening if they leave early
|
| • |
On-site engagement - in your analytics, track video plays and completions, and mark meaningful actions like booking clicks as key events so you can connect the tour to appointments
|
| • |
Listing activity - in Google Business Profile, watch trends in photo and video views alongside calls and direction requests
|
| • |
Multi-location comparison - if you manage several practices, compare performance by location and standardize the format that wins |
The point of measuring is to improve. If a short clip clearly drives calls, make more like it. If viewers abandon the tour in the first few seconds, your opening needs work. Small, steady adjustments compound over time.
> Back to Table of Contents
Common dental office video tour mistakes to avoid
Most tours that underperform share the same handful of fixable problems. Check your plan against this list before you publish.
| • |
Too long, no hook - a slow open loses viewers, so front-load your best shots and keep it short
|
| • |
No captions - you lose muted viewers and create an accessibility gap
|
| • |
Visible patient information - screens, schedules, or sign-in sheets in frame create a serious compliance risk
|
| • |
Weak audio or shaky footage - poor sound and unsteady shots quietly undermine trust
|
| • |
Staged and impersonal - overly polished footage can feel less trustworthy than an honest, warm walkthrough
|
| • |
No call to action - a viewer who is not told what to do next simply moves on
|
| • |
Set and forget - outdated footage of old decor or former staff erodes credibility
|
| • |
Unlicensed music - popular songs used without a license invite claims and takedowns |
> Back to Table of Contents
Put your video tour to work
A video tour is one of the highest-return assets a dental practice can build, when it is planned well, produced cleanly, kept compliant, and distributed where patients are looking. WEO Media - Dental Marketing helps practices plan, produce, and publish video that turns views into booked appointments, and our dental video marketing team integrates it across your website, local listings, and search strategy. To talk through a tour for your practice, call 888-246-6906 and our team will help you map the right approach.
> Back to Table of Contents
FAQs
How long should a dental office video tour be?
Aim for under two minutes for the main tour, and create a shorter cut of about 30 seconds for Google Business Profile and social feeds. Attention drops quickly, so lead with your strongest shot and keep the pacing tight. A concise, welcoming walkthrough almost always outperforms a long, comprehensive one.
Can I film patients in my dental office video tour?
Only with a written HIPAA marketing authorization obtained beforehand from each patient whose image or protected health information would appear. Because a treatment setting is full of private information, the safest approach is to film when no patients are present and keep all patient information out of frame. Masking or blurring identities after recording is not sufficient on its own. This is general information, not legal advice, so confirm your process with qualified healthcare counsel.
Do I need professional equipment to make a dental office video tour?
No. A recent smartphone shoots video that is more than good enough for a practice tour. The essentials are stability from a gimbal or tripod, good lighting that favors natural light, and clean audio from a clip-on microphone if anyone speaks. Professional production adds polish, but a careful do-it-yourself shoot can look excellent.
Where should I post my dental office video tour?
Publish it on your website homepage, about page, and new-patient page, on your Google Business Profile, and on YouTube. Then repurpose short vertical clips for Instagram Reels, YouTube Shorts, Facebook, and TikTok. Hosting on YouTube and embedding on your own site gives you both discovery and on-page engagement.
What should a dental office video tour include?
Follow the patient journey: the exterior and parking, the entrance and reception area, the front desk team, clean and modern operatories, your technology, and a brief look at your sterilization area, which is a strong trust builder. Add comfort amenities and a short, warm team moment. Keep computer screens, schedules, and any patient information out of every shot.
Do dental office videos need captions?
Yes. Captions are a baseline accessibility expectation for prerecorded video under the Web Content Accessibility Guidelines, and they also serve the large share of viewers who watch with the sound off. Accurate captions improve comprehension and give search engines text to index. Adding an on-page transcript is a helpful extra step.
How much does a dental office video tour cost?
It ranges widely. An in-house smartphone walkthrough can be produced for very little beyond a gimbal and a microphone, while a professionally produced tour with a videographer, lighting, and editing costs more. The right choice depends on your goals, your timeline, and how many locations you need to cover. Many practices start simple and upgrade once they see results.
How often should I update my dental office video tour?
Refresh the tour whenever your practice changes in a way patients would notice: a renovation, a rebrand, new technology, or new team members. An accurate, current tour builds trust, while outdated footage of old decor or staff who have moved on quietly undercuts it. A yearly review is a good habit. |
|